Monday, September 30, 2019

Vinyl Project Bag

So this happened over the weekend, and on a Saturday when I usually spend most of the day watching college football! Somehow I worked around the NCAA football schedule to complete this little project bag. There are zillions of tutorials for zippered vinyl bags on the internet, but I like this one from Moda Bake Shop. The pattern was easy to follow and perfect for my first time sewing with vinyl.

I could hardly bear to cut into my long-hoarded Suzuko Koseki fabric, but I love the little circles of retro-ness and thought it was perfect for a bag.


I quilted the back so that the circles were left unsullied.

Here are some things I did differently from the pattern:
  1. I used a solid piece of fabric for the back instead of piecing together mini charms, so the final size is off about an inch from the Moda bag at 13 inches x 14 inches
  2. I used fusible batting instead of regular batting to give it more body
  3. I sewed the zipper on with a regular foot instead of a zipper foot
  4. Next time I will be more careful getting creases out of the vinyl. In an effort to smooth the vinyl I put too much heat on it and made it slightly warped. So there were a few crinkles when I sewed with it. However I'm the only one who will notice!

My ambitious self wants to make more little vinyl/fabric bags for Christmas gifts!


Health update: Life is good again. After being sick most of August into September, I'm feeling like my normal self again! My CT scan revealed that I had had pneumonia in my left lung, so that explains the pain with coughing, the weight loss, and the trouble breathing. While waiting for my test results I made the mistake of looking online and found all kinds of things that could be wrong with me, so finding out it had been pneumonia was actually a relief - LOL!

Monday, September 23, 2019

Squirrel #2: Pumpkin Patch Quilt

I should call this blog "My Sew-Called Distractions". Early in the summer I cut fabric and sewed HSTs for the Quilty Stars pattern by Emily Dennis. Most of those HSTs are still waiting to be trimmed, because I was distracted by a vintage quilt I saw on Instagram and wanted to recreate. I began cutting and sewing and named that quilt "Cottonwood", blogged about here and here.

Fast forward to last week, and I saw another quilt on Instagram that demanded my attention. It was a version of the Hocus Pocus quilt pattern, designed by Margot Languedoc at The Pattern Basket. Over the weekend I purchased the pattern, made a surprisingly fast fabric pull, cut fabric, and then sewed together a couple of blocks. I love the way it's looking so far and think it is truly squirrel-worthy!

AuntieMontana's version (photo from Instagram)

I LOVE AuntieMontana's version (above photo). I don't follow her, but for some reason I clicked on her name after she commented on a post, and this gem was the first thing on her feed. She had used Dandi Annie fabric by Robin Pickens, and I wanted so badly to order the same fabric. Fortunately good sense won out, and I found some nice fall-themed fabrics in my stash - yay!

The cutting instructions for this pattern are different than others I've used. Generally each fabric has its own section, but in this pattern each pumpkin (small, medium, and large) has its own set of cutting instructions. I like to get all the cutting done at once, so I went through the pattern and pulled all the cutting directions, then made my own chart.

Hopefully my next post will feature a completed quilt top, but which one will it be? I'm placing bets on Pumpkin Patch, since I'd like to have it ready by October!

Saturday, September 21, 2019

Cozy Crochet Afghan

In spite of our warm humid weather, I'm dreaming of a cold winter night with a mug of hot cocoa snuggling under this warm afghan.

I used 6 skeins of Lion Brand Wool Ease Thick & Quick in Oatmeal, which is a nice creamy beige with tiny strands of chocolate and black. This yarn is thick but soft, with a comfy blend of acrylic and wool.

I love crocheting while watching TV, and using the same stitch throughout with no color changes gave me some satisfying mindless crocheting.

Using a size N(9mm) crochet hook, I did half double crochet stitches in the back loop, which created a ribbed effect. I elected not to add fringe because I only had about 2 yards of yarn left over, but I might at some point.

The dimensions are 56" x 56", and as you can see my rows are a bit "wavy". I find it challenging to make the same number of stitches in each row without counting (that would take away from "mindless!) and to keep the edges straight. I did not block the afghan, but I'm sure that would have helped even it up.

This afghan will reside on the 12-year old dilapidated extra large recliner in our TV room. Our grown kids fight over that worn out chair when they come to visit and won't hear of us giving it away - hah!

Next up on the hook: a scarf using striped socks yarn. I bought 2 skeins of this yarn thinking I would make a pair of socks, but after a failed attempt, I quickly decided to make a scarf instead!

I am belatedly linking this to Cedar Fork Stitches Finish-Along as the only 3rd quarter goal I finished out of this very ambitious list I made back in July! But I'm glad I finished at least one, considering the fact I was sick during the month of August!

Tuesday, September 10, 2019

Cottonwood Quilt - Nine-Patch Squirrel Part 2

This is the squirrel that came to stay. My last post has the details of how this squirrel first came to be. Now that it is a full-blown project it deserves a name, and I chose the name "Cottonwood". The farm where I grew up had a cottonwood tree that holds many happy memories for me - from playing beneath its shade, to seeing it silhouetted against the sky at night during lightning storms, to watching "cotton" shed during early summer. Seems like an apt name for a happy quilt!

Excel spreadsheet instead of graph paper!
Bevquiter123 on Instagram has been very patient with my questions about block sizes for this glorious vintage quilt that first caught my eye. I was wrong on my initial impression of each block measuring about 12 inches. There is no "12-inch block", just nine-patch blocks separated by strips of rectangles and squares. With the blocks finishing at 6 inches, rectangles finishing at 6 x 3 inches, and squares finishing a 3 inches, I estimate that 7 nine-patch blocks across and 8 down separated by rectangle/square strips will make a lap=sized quilt.

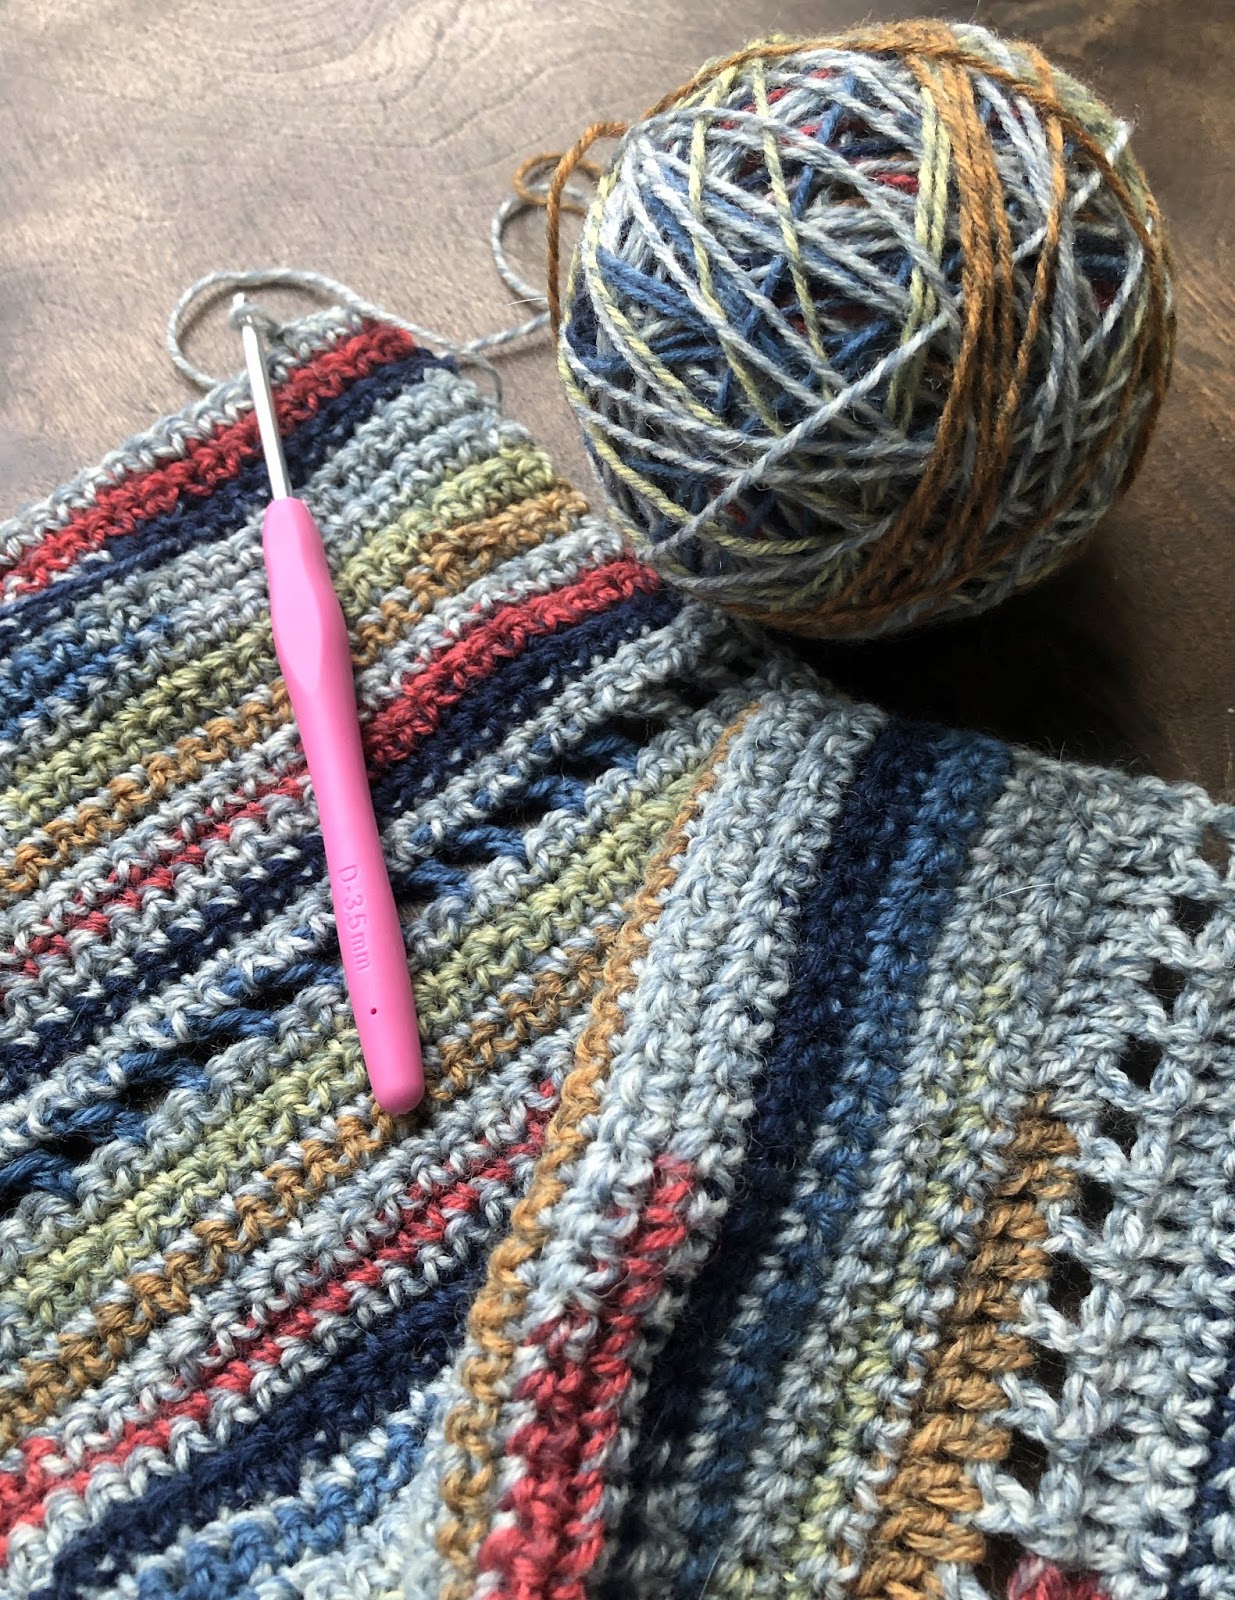
Some of the blocks will be balanced in color and pattern, but others will just be scrappy. My comfort zone balks at this, but I'm actually finding it to be fun. It takes a lot less time!

Original quilt with pink squares
Dotted cream squares
Pink squares
The original quilt was "anchored" by pink squares. I have not yet decided whether to go with the neutral dotted cream or the pink-ish fabric. My comfort zone tendencies are to go with neutral, since the other fabric strips will be very busy, but then I look at the original quilt and I'm tempted to be a wild girl.

Rosie inspecting my antibiotics
It is nice to be back in the sewing room for longer stretches of time. August was a month of fighting a really bad cold that wouldn't go away (kind of like the squirrel!). Weight loss and breathing issues finally sent me to my doctor last week. He ordered a chest x-ray and antibiotics and a chest CT is scheduled in a couple of weeks. My recovery has been slow and my energy level sapped, but I'm finally starting to have days of feeling almost normal - yay!

Our weather has been drastically affected by the dreaded late summer high pressure dome, with very little rain during July and August and now into September. We have some chances of rain this week, so I plan to perform my rain dance today. Hurry up Fall!